Here is a list of all dungeons and defences on the campaign trail with short strategies on how to beat them. Most dungeons are player attacking much like in pvp raids except that the dungeon is always the same from a pre made list.
Other steps on the campaign trail are dungeon defences where the AI will sent waves of minions at your dungeon in a fashion like the weekly survival raid.
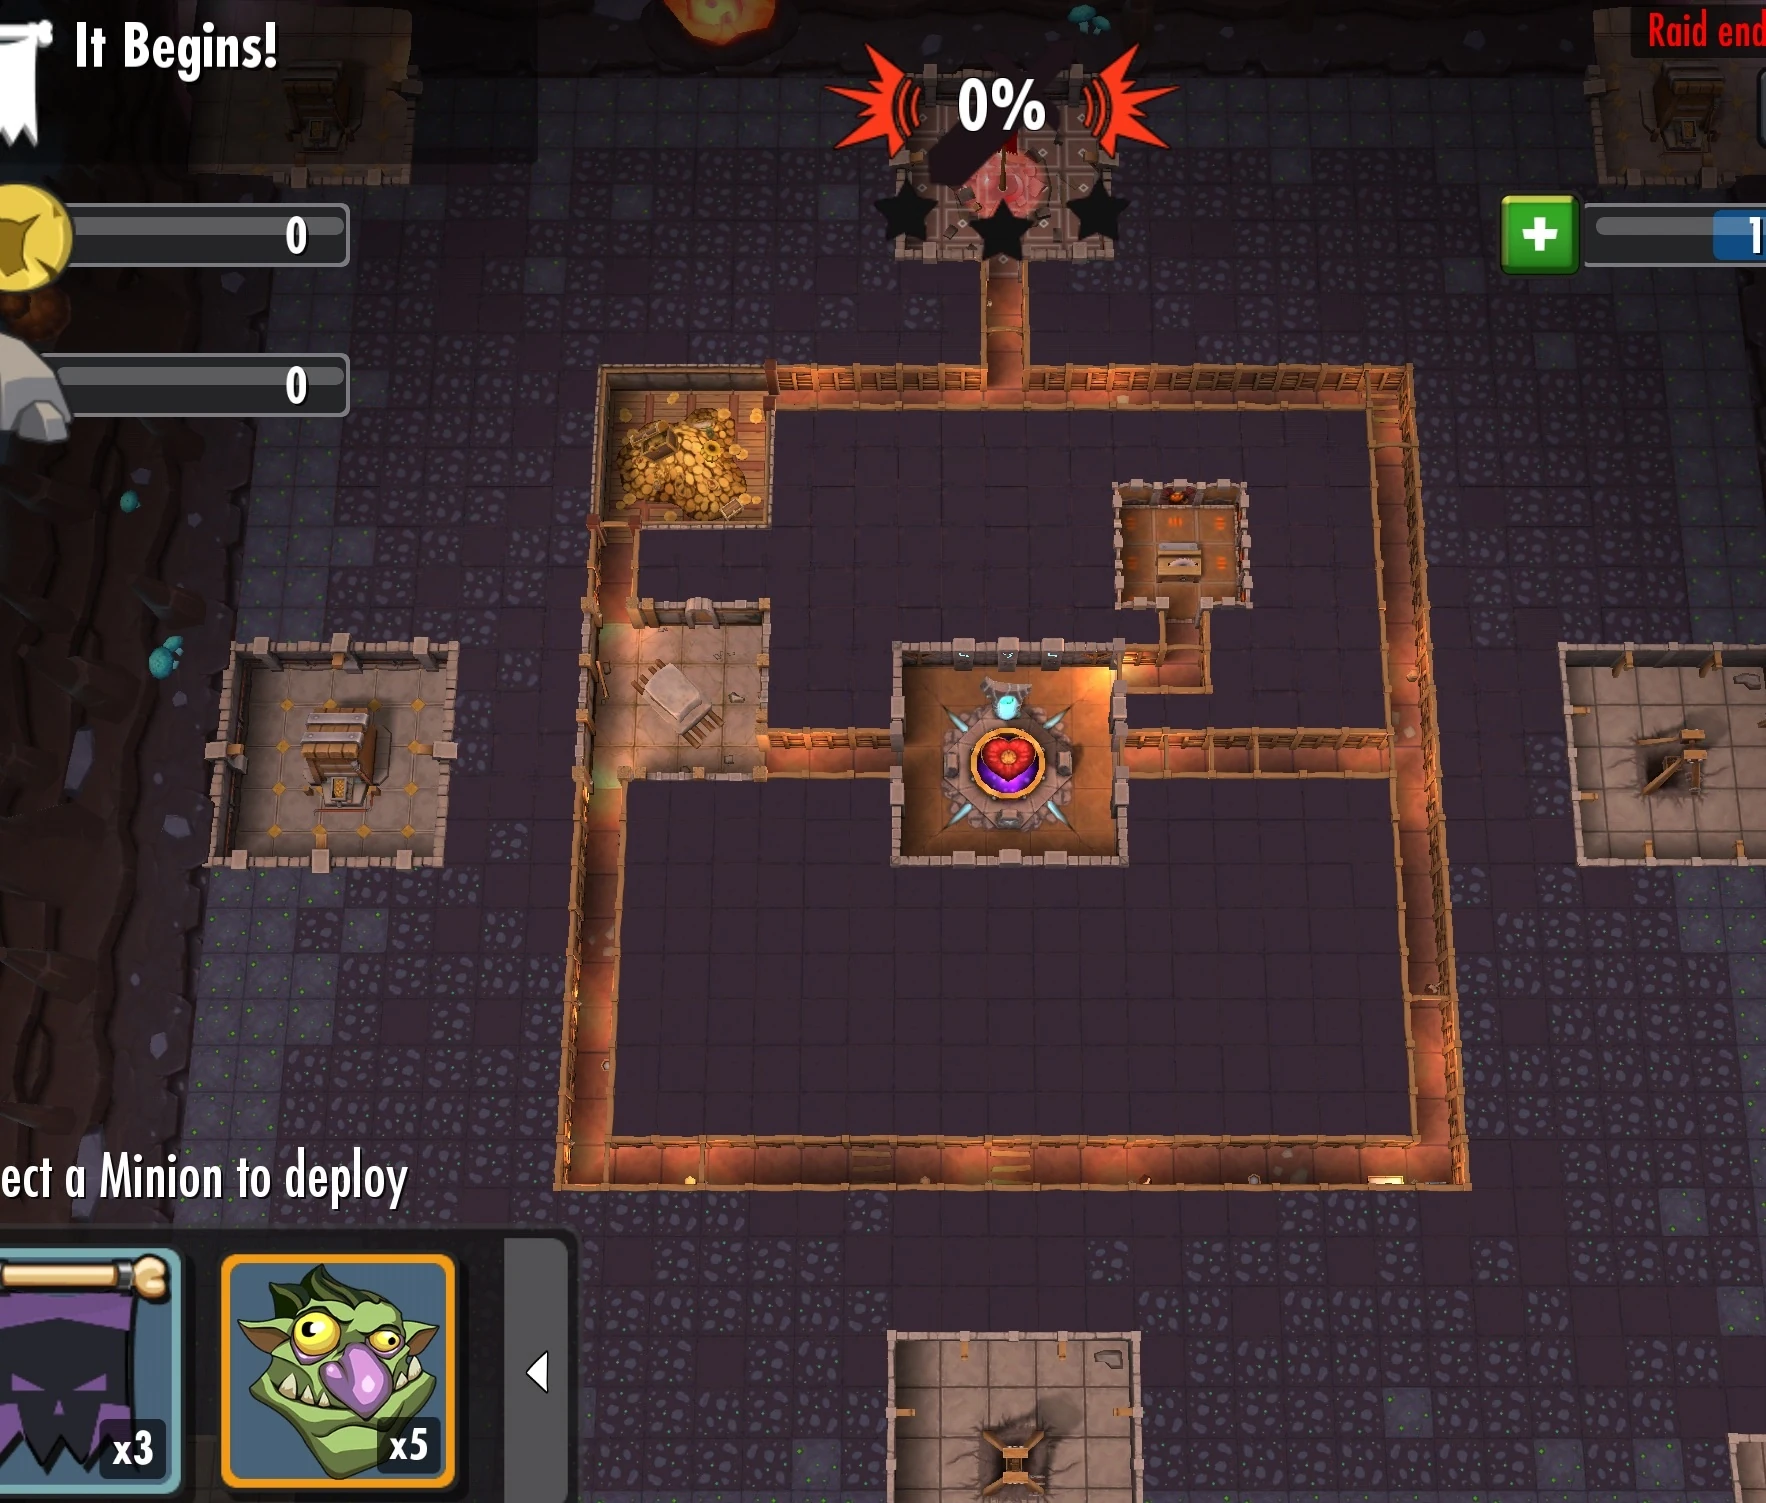
It Begins![]
1-2 Bile Demons at the north (only) portal, finish off with goblins spawned at the destroyed store houses. If Bile demons are unavailable use 5-10 skeletons instead.
Dungeon Defenders[]
Covering Fire[]
A few trolls from the portal to destroy the workshop then finish with skeletons or bile demons.
Boned[]
Locked Up[]
Use bomb-wall to gain access to the library in the north then goblin and troll spam for a quick and easy victory.
Troll in the Dungeon![]
The Last Argument of the Keepers[]
Again use bomb-wall to gain access to the library then use large numbers of trolls and skeletons. The advice of sacrificing a bile demon at the front of the raid will help keep the rest of the hored safe from the cannon is a sound idea but is not needed in this mission.
Doom Imp[]
Don't be put off by the immortal it is about as tough as the sawmill and has a shorter range. Bomb wall between the hatchery and heart will give you full access to the inner dungeon for your trolls and bile demons.
Had'ou-ken![]
Backdoor[]
Vile Demon[]
Hot Foot[]
Scatter[]
Breach and Clear[]
Death Proof[]
Stay Frosty[]
Leveled up[]
Fortified[]
Beard Brigade[]
Ejector Seat[]
Capture Horny the immortal here
Revenge of Phatooey[]
Chickens. The chickens!
In the final wave, you face one huge immortal-style chicken.
Overwatch[]
Switchback[]
Breaking Eggs[]
Poison Mushroom[]
Raise the Dead[]
Mortal Coil[]
I Ain't Afraid of No Ghost[]
Cannon Crazy[]
Dominated[]
Crystal Cave[]
60 Seconds[]
Bomb Flower[]
Cold As Ice[]
Demolition, Man[]
Call Me "The Zapper"[]
Death Proofed[]
Two Hearted Alley[]
Rock n' Roll[]
Max Damage[]
Super Six Sided Shape[]
Council of Elders[]
Return of the Ancient King[]
Deep Impact[]
Ceremonial Killamajig[]
Primordial Air Raid[]
The Adjudicator[]
Tomb of the Giants[]
Domain of Frost[]
DrekFrost's Revenge[]
Domain of Flame[]
Flame's Revenge[]
Domain of Storms[]
Storm's Revenge[]
Domain of Earth[]
Earth's Revenge[]
Domain of Aether[]
Revenge of the Aether[]
The Road Not Taken[]
This is a special Attack mission that allows players to individually engage each Immortal at their new maximum Level in order to take a close look at their performance. The mission itself is simple and very straightforward, as its sole function is to provide players an easily accessible means of previewing each Level 40 Immortal.
This mission is rather easy, as you're able to fight most of the Immortals solo, except Tiny may fly over.
The easy method to beat this without 100% is to just target the dungeon heart with vampires, immortals, or guild minions. The dungeon heart does not have an attack.
If you wish to go for 100%, here are some recommendations:
- Take out Horny early on so he doesn't get a rampage boost, though the guard posts provide barely any to him
- Tiny will fly over to other immortals above and below her, consider clucking her off
- Mortimer is the easiest to beat, as he has not AOE
- Mawmaw is rather easy though his boost own effectiveness can be something, I dunno
- Sir Cophagus, Swampus, Horny, Deegg & Dugger all have AOE attacks which can be lethal
- Glarggl might have AOE attacks, dunno
None Dare Resist[]
In this Defense mission players will face off against 8, brutal waves, each one culminating in the appearance of a different, new Level 40 Immortal. Leading up each Immortal's arrival into your dungeon are hordes of Skeletons, Trolls, Ghosts, and Mistresses. Be prepared, this mission is very difficult!
This mission is similar to Revenge of the Aether, on the final wave you'll be attacked by the giant vampire. It is recommended to redesign your dungeon for this one. Also consider using the defence boost if you're struggling.
Watch Your Step[]
Our final Campaign map with this update, this Attack mission pits the player against specialized versions of each Level 40 Immortal, which are highly resistant to Cluck Off and Dragon Breath. In addition, the Reinforced Walls here are extremely resilient against Bomb Wall and Burrow Damage, so players must, more or less, follow the designated path in order to proceed. Last but not least, this Dungeon also houses special Boulder and Fire traps that cannot be Disabled.
For any Keepers powerful enough to reach the Dungeon Heart, an old friend awaits you...Good luck!
PS - No one in our internal QA team managed to defeat this dungeon. If you are the first to take it down, please post on the forums so we can hear your feedback!
This mission is probably the most difficult in the game. There are two known methods for beating it:
- Dragon Whelps, Tiny and MANY Disable Trap casts - Goo
- High level Tiny, some Disable Trap casts and Vamps - FarQ
The high level Tiny way is the only way I know, and I have done this myself Scouting and Attack boost may be required, though I did it without them. 1. Your army should include the high level Tiny, another high level Immortal (one with stun is good), 1 Mistress, the rest vampires, guild minions 1x vampire and 1x mistress 2. Capture or have a high level Tiny, above level 35 is good though the higher the better 3. IF YOU DON'T HAVE SCOUTING: use Dragon Breath to reveal the Anti Air Traps on the right side closest to your starting position and to the right of the Dungeon Heart 4. Disable about 12 of the Anti Air Traps on the far right side as well as the Anti Air Traps on the right side of the Dungeon Heart as well as Bug Zappers, if you have spares then you can take out the Dante's Mounds as well 5. Deploy Tiny on the right bottom square of the entrance and IMMEDIATLY send her to the far bottom right Guard Post, she may get hit by a few shots but thats not to worry. 6. Once she reaches the 1st Guard Post, send her north to the next Guard Post 7. Once she reaches the 2nd Guard Post, send her to the Guard Post on the right of the Dungeon Heart 8. Take your time destroying this Guard Post, you may have to send Tiny back to the previous Guard Post going back and forth as the Vampire may attack you. If he is on the right side of the Dungeon Heart you should retreat until he pisses off. 9. Once the Guard Post to the right of the Dungeon Heart is destroy, this is where you unleash everything as fast as possible. 10. If you are able to keep the big vampire stunned the whole time, you will win. This is why you need Mistresses, and I recommend 2 incase one dies. With highly level Vampires in my army with the Mistress boost, the big vampire died in about 5 seconds. 11. Once the Dungeon Heart is dead, you have won. You can try walking backwards through the dungeon and get as much of the rest as you can, though this can be hard.